The Pre-Bounce Mixing Checklist: 15 Checks Before You Export
It is late, the mix sounds good, and you want to be finished with it. That is exactly the moment when small problems slip through: a kick and bass fighting for the same space, a pad that vanishes the second someone plays the track on a phone speaker, or a limiter quietly shaving the life off the final chorus.
None of these are difficult to catch. They just need to be looked for deliberately, in order, before the file leaves your machine. The fifteen checks below take about ten minutes and cover the four things that cause most export-time regrets: translation, balance, dynamics, and technical safety. Work through them in order, make notes instead of endless tweaks, and only then print the file.
Why a Checklist Beats "One More Listen"
When you are tired, your ears stop noticing. You start hearing what you expect instead of what is actually there. A mix that felt exciting at 2 a.m. can sound thin, muddy, or strangely quiet the next morning. The problem is not that your taste disappeared. It is that your attention did.
A checklist protects you from that. It forces you to switch perspectives: mono, phone, headphones, reference track, raw dynamics, technical settings. Each check asks a different question, so you cannot coast on the same tired impression. It is not a creative cage. It is a safety net for the creative work you already did.
The goal is not to make the mix perfect. The goal is to catch the mistakes that would make you cringe tomorrow.
The Four Failure Zones
Every last-minute export problem tends to fall into one of four buckets:
- Translation: The mix works in your room but falls apart on earbuds, a phone, a car, or a club system.
- Balance: One element is too loud, too quiet, or masking another in a way you stopped noticing.
- Dynamics: The limiter, compressor, or clipping is flattening the energy and emotion of the performance.
- Technical safety: The file itself is wrong: wrong sample rate, wrong bit depth, clipped peaks, no headroom, bad naming, or no backup.
If you know which zone you are checking, you can fix problems faster and stop second-guessing decisions that are already working.
The 15 Checks in Order
Translation and Reference: Checks 1–4
- 1. Check the mix in mono. Collapse the stereo field and listen. If a vocal, snare, or lead synth drops in level, it is relying on width instead of midrange. Wide pads and doubled guitars often disappear here. Fix the balance in mono, then return to stereo.
- 2. Listen on a phone speaker. This is brutal but useful. You are not judging bass depth. You are judging whether the song still makes sense. Can you hear the vocal? Does the kick and bass imply weight? If the chorus loses all impact, check the midrange and high-mids.
- 3. Compare against a reference at matched loudness. Drop in a commercial track you trust. Turn both down until they feel equally loud, then switch. If your mix suddenly sounds dull, thin, or overhyped, you have found a real issue. Do not let the louder track win the comparison.
- 4. Test on headphones and earbuds. Headphones reveal clicks, mouth noise, harsh sibilance, reverb tails, and panning mistakes. Earbuds reveal how the low end translates in a sealed space. Listen for anything that pulls your attention away from the song.
Balance and Space: Checks 5–8
- 5. Solo the kick and bass together. These two should feel like one instrument, not two people arguing in a small room. If the kick disappears when the bass enters, try sidechain compression, a small EQ cut, or a different bass note. The fix is usually arrangement as much as processing.
- 6. Mute the bass and listen to the kick alone. Does the kick still carry the groove? If it only works because the bass fills in the body, the low end may be fragile. A strong kick has enough click, weight, and pitch to survive on its own for a few bars.
- 7. Check the vocal or lead in the full mix. Play the busiest section and listen at low volume. If you have to strain to understand the lead, it is not loud enough or it is being masked. Automate a small lift if needed, but check whether the competing instrument can be dipped instead.
- 8. Listen for masking in the 200–500 Hz range. This is where mud and boxiness live. Mute instruments one by one and listen for a sense of relief. If the mix opens up when the rhythm guitar disappears, that guitar may be fighting the snare or vocal. A narrow cut can solve more than a broad boost.
Dynamics and Energy: Checks 9–12
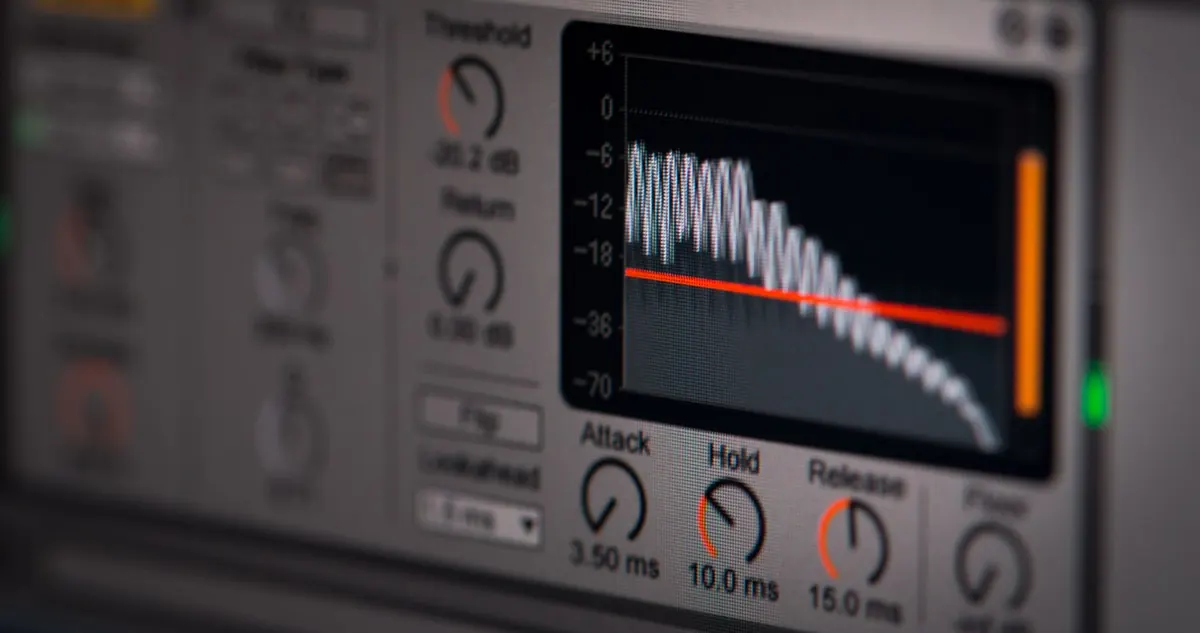
- 9. Bypass the limiter and check the raw mix. The limiter should be catching occasional peaks, not doing the heavy lifting. If the mix collapses without it, go back and fix the balance. A raw mix can be quiet and still sound exciting. That is a good sign.
- 10. Watch the loudest chorus against the quietest verse. Play the transition and listen for contrast. If the chorus only feels bigger because it is louder, the arrangement may be weak. If the verse is already slammed, the chorus has nowhere to go. Let dynamics breathe.
- 11. Check for clipping in individual tracks. Clipping can hide inside plugins, bus compressors, and converter inputs. Look at your meters with fresh eyes. A red light on a reverb return or a delayed track is easy to miss. Fix gain staging before you touch the master fader.
- 12. Listen to the first and last ten seconds. Check for fade-ins that start too abruptly, noise before the downbeat, reverb tails that cut off, and silence that is not truly silent. The beginning and end are the first and last impressions. They deserve a deliberate listen.
Technical Safety: Checks 13–15
- 13. Check your export settings. Confirm sample rate, bit depth, file format, and whether you are exporting a master or a mix for mastering. If the client asked for 24-bit WAV, do not send a 16-bit MP3. If you need a reference MP3, make it separately.
- 14. Confirm headroom and dither. If you are mastering, leave enough headroom for the mastering engineer. If you are doing the final master yourself, check true peaks and avoid inter-sample clipping. Dither only when reducing bit depth, and use it once, at the final step.
- 15. Name and save the file properly. Use a clear name like Artist_Title_Mix_Version_Date. Save the project, collect all files if needed, and back up the session. The best mix in the world is useless if you cannot find it next week.
The Ten-Minute Pass in Practice
Do not turn these checks into a two-hour revision. Set a timer. Start with translation, then balance, then dynamics, then technical safety. When you hear a problem, write it down instead of immediately diving into plugins. After the full pass, decide which fixes are real and which were just fatigue talking.
Most issues can be solved with small moves: a fader change, a narrow EQ cut, a compressor threshold, a sidechain trigger, or a gain adjustment. Big moves are sometimes necessary, but they should be rare. The checklist is there to catch the obvious things before other people hear them.
Three Common Traps That Fool Even Experienced Mixers
- The loudness trap. Louder almost always sounds better. That is why you must match levels before comparing. If your mix only wins when it is louder, it has not won.
- The "it sounds great in my car" trap. One system is not translation. A mix can flatter a car stereo and fall apart on a laptop. Check at least three systems, including one you dislike.
- The technical victory trap. Perfect meters do not make a great song. You can have ideal headroom and still have a boring mix. Use the technical checks to protect the music, not to replace it.
When to Break the Checklist
Sometimes a mix is intentionally lo-fi, mono, distorted, or strange. A garage-rock track may benefit from clipping. A dream-pop pad may be supposed to blur the edges. The checklist is not a rulebook. It is a way to make sure your choices are deliberate.
Break a rule when you know why you are breaking it. If the mono check collapses the mix but the song is meant to be a wide stereo experience, make that choice with open ears. If the limiter is crushing the chorus but the genre demands it, accept the trade-off consciously. The danger is not breaking rules. The danger is not noticing.
Final Export Habit
After you export, take a break. Do not immediately listen to the file. Give your ears ten minutes, or better, wait until morning. Then play the exported file on a different device. If you still like the mix, stop. If something jumps out, fix it and repeat the checklist.
The pre-bounce checklist will not make every mix perfect. It will make you harder to fool. And that is often the difference between a mix you send with confidence and a mix you quietly wish you could recall.
Photo: Robert So / Pexels